

I’ve always been partial to laser mice and high-DPI sensors ever since I bought a second-hand Logitech MX1000 Laser Cordless Mouse. When my MX1000 gave in due to battery failure and corroding battery charge contacts, I went to the Mionix NAOS 8200 wired laser mouse in 2014 for a little more resolution and no battery concerns. This served me well for about three years, before having the centre-click button fail (which I remapped for a while) and then the left-click button becoming intermittent. Because of this, the Mionix retired, as the soft-touch rubber coating became somewhat sticky.
When I renewed my workstation, it seems that laser mice have become less popular with gamers returning to more “advanced” optical sensors instead. As a result, I decided to grab whatever was in stock which just so happened to be a SteelSeries Sensei on a discount. It looked to be a decent unit offering 5700dpi, configurable buttons and an LCD + RGB-LED frills. Little did I know that this one would become problematic in slightly more than a year …
The Mouse

Unlike some of the more premium competing designs with deeply sculpted, the Sensei has a symmetrical ambidextrous design which is adequate but not most comfortable. This one came with a reflective silver finish, but just like CDs with disc rot, the lacquer has worn through in a number of spots with the reflective layer being attacked by moisture.
The unit does have a little soft-touch rubber on the sides, but less than that of my old Mionix NAOS 8200, so that’s an improvement.
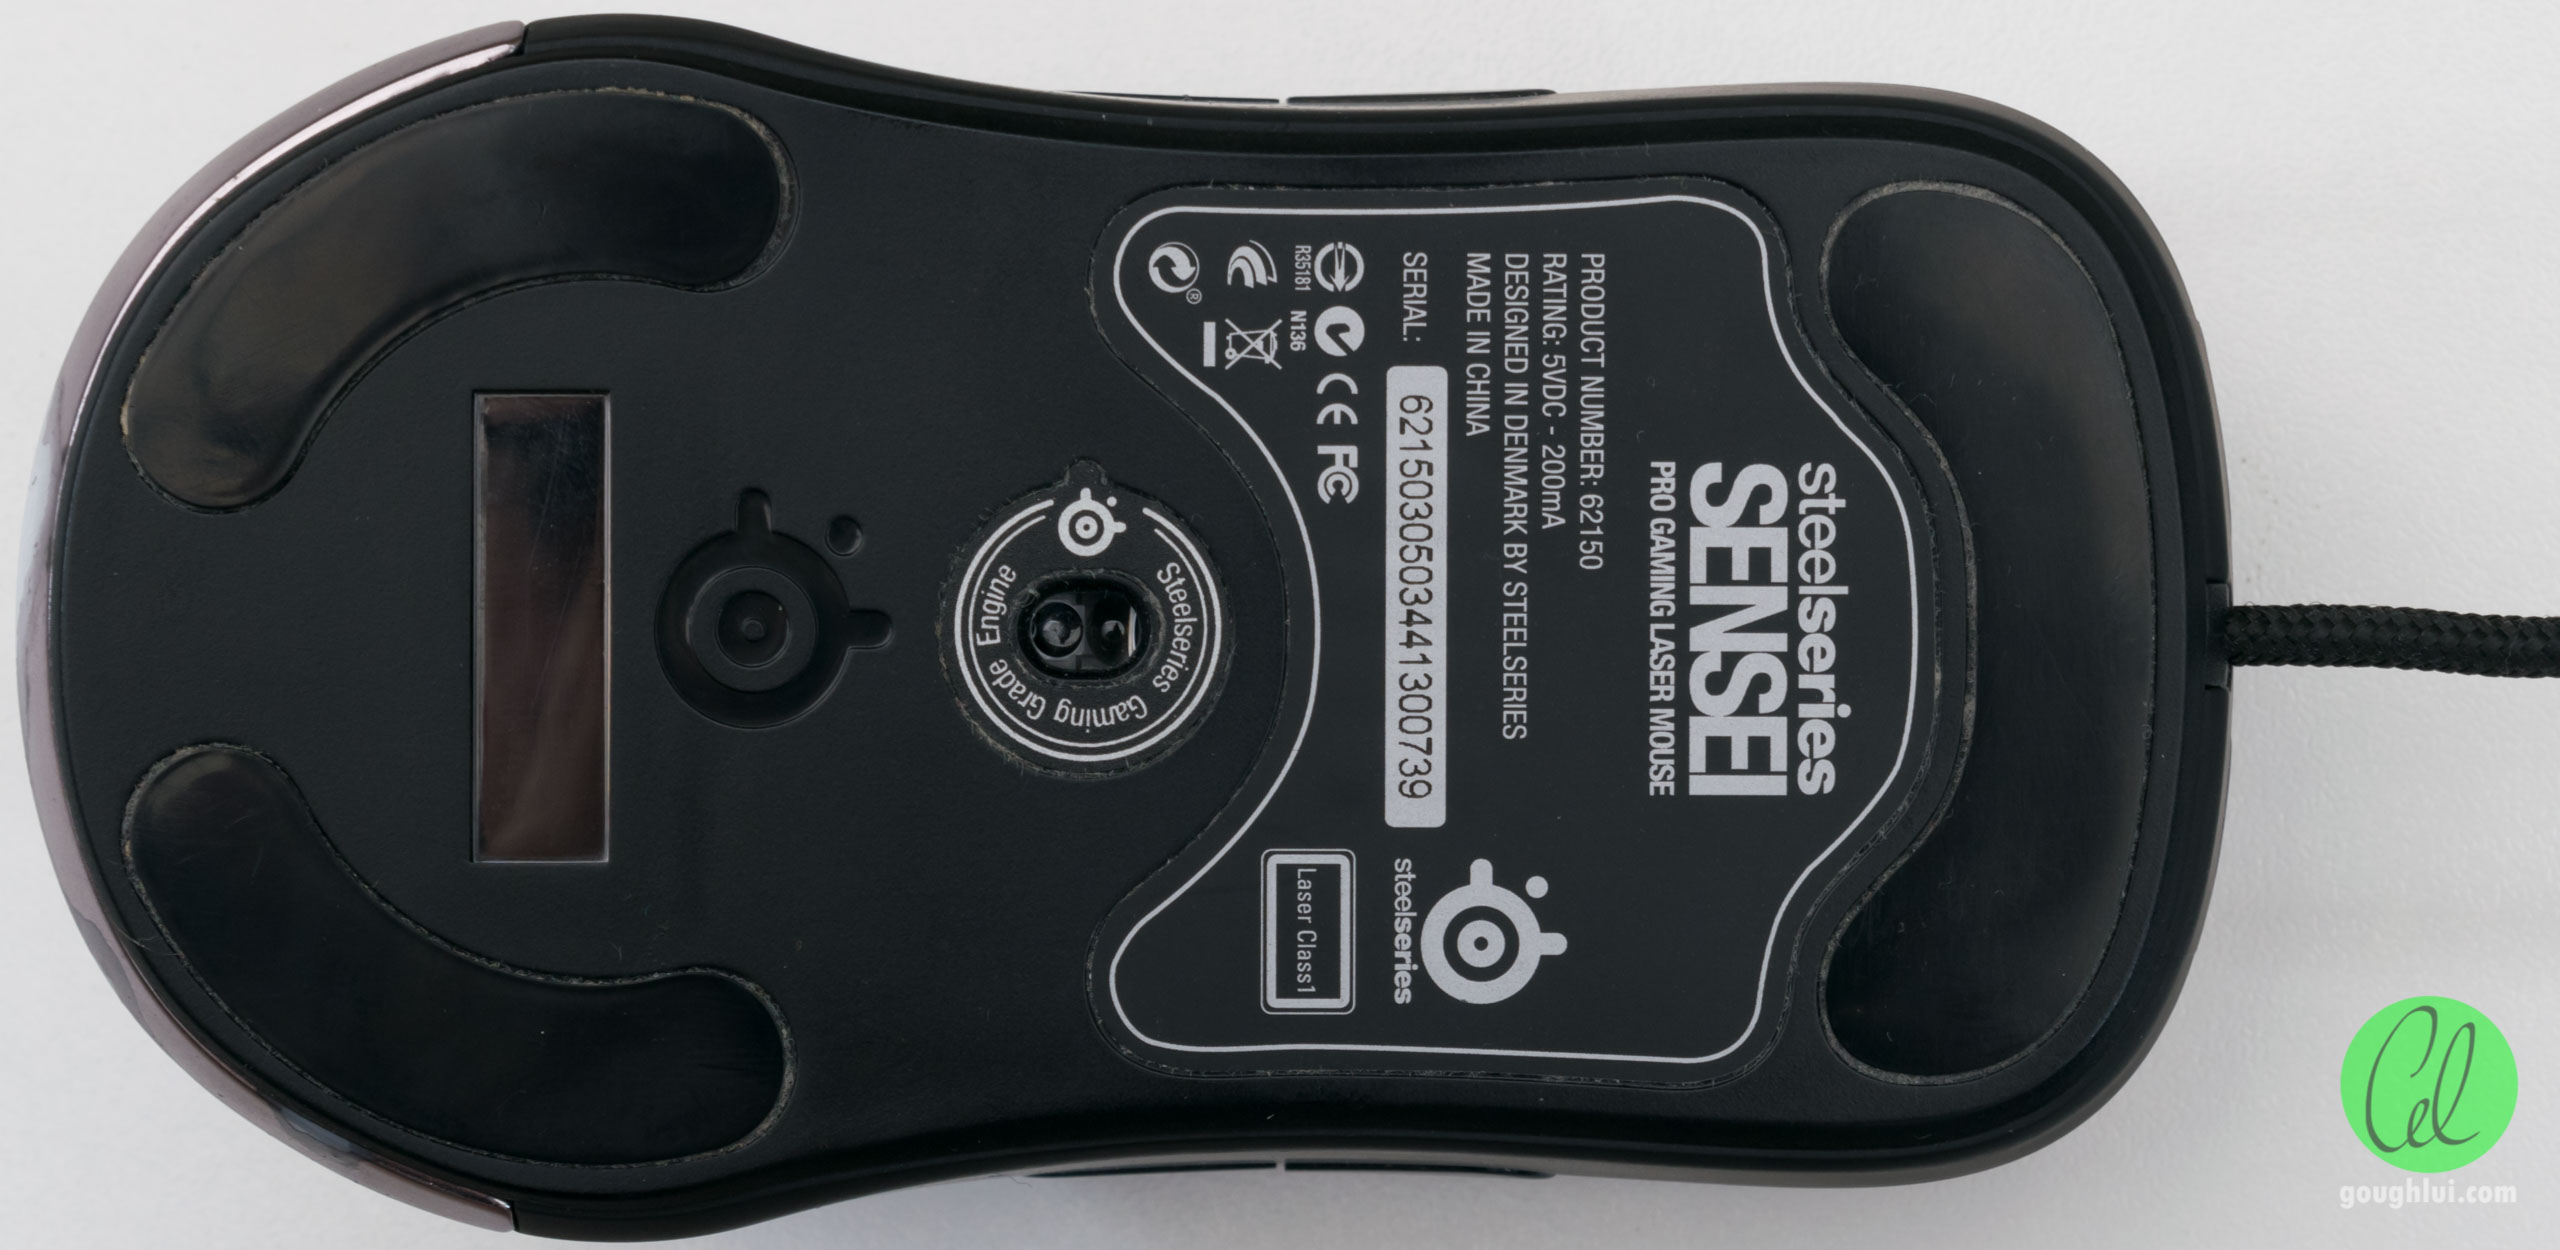
On the underside, the unit has its laser sensor but also an LCD display to show a logo. A very interesting gimmick, as you can not see it when the mouse is in use, so what’s the real point?

The mouse has a gold-plated outer shell with ferrite bead on the braided USB lead for that premium touch.
On the whole, I’ve been generally pleased with this mouse, but a few months in, the cracks started to appear. The first problem that drove me nuts was the scroll wheel became squeaky. For someone that reads a lot of documents, this was very distracting. I could still live with it, but about nine months in, the left click started to occasionally “double-click” on its own when single-clicked. This was a symptom of switch-bounce which implies contact wear, unusual for a mouse of such a young age. After a bit, it went away only to come back with a vengeance.
I tried to live with it for a bit longer, but then, I broke out in a rage because this double-clicking shenanigans cost me three hours of work in an app which had one button that stops and restarts acquisitions without asking to save unsaved data in the data buffer.
Teardown

To open the mouse, all of the teflon skids need to be removed which damages them slightly. Four screws in the corner hold the shells together.

Inside, the mouse has quite a few PCBs and interconnecting harnesses owing to the scattered LEDs and buttons. I decided not to tear apart more than necessary to repair the mouse, so it’s not quite a full teardown.

The main PCB shows the mouse being powered by an Avago A9500 5000dpi sensor and an STM32F103 ARM microcontroller. The left and right switches are Omron switches (normally a byword for quality), whereas the middle-click button is a YTC switch.

From the side, the faulting switch is Made in China, with a model number D2FC-F-7N (10M). It seems this switch is known to be troublesome in some other models of mice made by Microsoft, Razer and Logitech mice as well.

A look at the mouse top-shell shows all the PCBs there are black in colour.
The Donor
Unfortunately, I didn’t have any of the switches in spare. I could swap in my spare Asus GX950 to tie-over for a while while new switches arrive, but the eBay listings seem to suggest they will provide “compatible” switches. Even the genuine switches might not be preferable – they could be equally poor and fail in short order.
Instead, I raided the drawers and pulled out a relatively modern basic OEM mouse from Acer. There was nothing wrong with the mouse, just that it’s not particularly high DPI.


The large skid can be removed for one screw to separate the shells.


The inside of the mouse is surprisingly simplistic, utilising optical encoding for the scroll-wheel (a rather good idea) with a tactile button for the centre click. This leaves just two Kailh microswitches that can be harvested. This particular unit is a Logitech Bao’An Board 210-001260 Rev.005.
Transplant

To extract the main PCB requires removing the scroll-wheel LED and then removing the scroll wheel carefully. Undoing the flexible cable to the LCD is a good idea as well, but the LCD backlight cables are soldered on.

The underside of the board doesn’t look too great – there seems to be some flux residue and solder splashes left behind.

Switches desoldered from each board ready for transplant. Note that I could have changed left and right-click buttons, I chose just to change the failing one. In hindsight, doing both may help balance the actuation force and travel between left and right click.

The switch is soldered into place …

… and ready to reassemble. In the end, it was reassembled just fine and the mouse works perfectly, so I can get back to work. The teflon skids were somewhat damaged but at least they still adhered well enough to allow them to be used despite some curling and gouges/scratches. I also put some silicone grease on the axle of the scroll wheel to quiet down the squeak.
The Offending Switch

Popping off the cover of the switch and getting out the macro lens allows us to view the internal construction of the switch.

A thin springy piece of metal serves as the contact which is pushed down upon by the plastic pin.

A close look at the contact shows some scoring and a rough surface which could be the source of the contact noise. I don’t expect to see this from such a young switch that is not performing a “power” switching application.
Conclusion
It seems rather disappointing as the SteelSeries Sensei barely lasted a year of use before developing a rather critical fault in the left click button and a squeaky scroll wheel. I was able to repair it by extracting a switch from a donor mouse, but the repair procedure does damage the teflon skid pads and now results in mismatched travel/actuation force between left and right click. I wonder when the other switches may fail … but this is probably the earliest failure of an input device I’ve experienced.
Thanks for an interesting article, but it seems like a lot of effort for an unreliable result.
Well, I wouldn’t necessarily call it unreliable, just perhaps at risk of further failures assuming all Omron switches from that series are equally vulnerable to failure. That being said, left-click is the most often used, so I’d expect the right-button might still have some more life left. Now I know what it’s like inside, it’ll be easier to take it apart in the future although I wonder if the teflon skids will still hang in. If not, some double-sided tape or maybe replacing them might be required.
What I despise most is the needless waste and inconvenience of having to “upgrade” to something new, so being able to sacrifice a $2 OEM mouse that was hanging around doing nothing to save my $70 laser mouse was worth it in my eyes. The difference between a quality component and a bare minimum one is probably not much materials or manufacturing wise. But now I’m beginning to wonder if they may have been struck by counterfeit parts leaking into the supply chain. Contract manufacturers often are entrusted with a design and a bill-of-materials, so where the parts actually come from is not always clear.
– Gough
oh man, that squeaking when scrolling down is driving me nuts. I suspect, or rather hope its the rubber grommet around the pointless scroll-wheel LED and plan to remove it entirely next time im in there. Sadly its more likely to be a shitty plastic contraption they designed to hold the wheel itself, I have a vague memory of seeing it move forward/back depending on the direction of scrolling, especially scrolling back would make it move back just to skip forward again. So far I just pour machine oil once a month between right button and scroll-wheel.
I even decided to “upgrade” to Zowie FK1 only to discover its scroll-wheel mechanism is even worse with barely any support, SUPER stiff deep mushy button, no clearance around the wheel and imprecise wheel holder – it is wobbling and rubbing on both left and right side of the case making scrolling a nightmare, and pressing scroll does nothing nothing nothing then tons of resistance by the stiffest microswitch I ever pressed then finally a click, what a ~$100 piece of crap.
That sounds rather disappointing for the Zowie FK1. I’d have to say that I did feel that the scroll wheel on my old Mionix NAOS 8200 was a bit stiff at the beginning, but I suspect I wore the plastic enough that it became “comfortable enough” to use.
As for the squeaking in my SteelSeries Sensei – the actual cause was the axle rubbing on the microswitch “pin” itself. The friction had caused a buildup of plastic dust inside which didn’t help either. Getting some oil down the gap between the wheel and the right button is pretty much the right place to attack the issue short of opening the unit, although the LED assembly does get in the way. In your case, your LED assembly could be slightly loose – it has a white silicone rubber done as a diffuser and the PCB itself is only held in place by “sitting” on two plastic pegs, so it may have fallen out of its place and is getting caught on the inside of the wheel as you suspect.
So much for “pro” gear … I’m not even a gamer and yet it doesn’t really live up to my expectations … at least I’m still getting a little more use out of mine.
– Gough
I bought one of these near release and it lasted just over a year before going dead. still got it, with the thought I’d maybe have a poke at fixing it one day
You can find cheap OMRON switches with 20M inscribed on them (D2FC-F-7N(20M)) on ebay & aliexpress, these go to double the lifespan of the original ones of 10M. Much better than the whatever Kailli ones!
Sure, I could buy switches from online for about AU$10 posted, not knowing if they’re genuine or Chinese fake copies … wait 30-45 days for them to arrive while I have a mouse that’s not behaving itself …
— Or I could tear apart a mouse I already had sitting there unused and steal its switch.
I think a majority wouldn’t have even bothered and might just shell out for a new mouse. After all, this was only about AU$70 brand new. At the end of the day, I think it’s clear that one can replace like-for-like or even upgrade the components if they are willing to order and wait for them to arrive. Unfortunately, I wasn’t in a position where I could do that since it is my primary mouse and it was driving me absolutely nuts to have things “double click” when I didn’t intend to. No doubt the switches in cheap OEM mice are built to the lowest price – but since my repair a year and a half ago, the switch is still working perfectly fine making it a worthwhile extension of life for this mouse.
– Gough
My switches from Aliexpress after 3 years are still good. And cost only 3$ with shipping for two of them (but it took long around 2 months to arrive).
That’s good to hear. Sometimes it depends on the mouse controller’s internal debouncing time constant and the current flow through the switch when it is depressed. I suspect maybe this mouse might not be putting through enough current thus not cleaning the contact oxide on actuation or is too sensitive to switch bounce. Another potential complication would be the way the mouse pushes down on the “nub” of the switch – perhaps some designs just cause the internals to wear out quicker.
But I do have a new mouse now … so I think I’ll be sorted for mice for a while ;).
– Gough